Skill drill
Making a Buried Winch Anchor (Deadman)
Open ground, no trees, no second vehicle: bury your spare tire across the line of pull and winch to the ground itself.
10 steps, about 3 minutes
Rig it in 3D one decision at a time. Choose wrong and you will see what happens.
When to use it
When there is nothing to anchor to at all. It is slow, hard digging, and you watch it closely, but a properly buried anchor holds by the weight of the soil over it.
The steps
- Gear up
- Find an anchor
- Dig and bury
- Spool out
- Connect
- Damper on
- Clear the area
- Take up the slack
- Winch it out
- Secure and spool in
A drill is practice, not certification. Read your own winch's manual, and learn it hands-on from someone experienced before you rely on it.
The written guide
Step by step
- 1
Gear up
Put on heavy leather gloves and clip the hook strap to the hook. Use the strap any time you handle the hook, never let the line slide through your hands, and never hold the hook itself.[1, 3, 4]
Winch lines carry burrs and broken strands, and the fairlead is a pinch point. The hook strap keeps your fingers out of it.
- 2
Find an anchor
If there is no tree or second vehicle, make an anchor: a spare tire and rim buried deep in the ground, across the line of pull.[3, 7]
Anything sitting on the surface just slides or rolls toward you once it loads. A buried anchor has to drag a wedge of soil with it.
- 3
Dig and bury
Dig a trench at right angles to the line of pull, as deep as you can manage, with its front wall slanting toward the pull. Lay the tire in it, run the strap through the center of the rim and out along a slot cut toward the vehicle so the pull stays low and level, then backfill and pack the soil down hard.[3, 7]
The deeper and flatter the pull, the more soil the anchor has to drag. Leading the strap out low keeps the tire from rolling up out of the trench.
- 4
Spool out
Put the winch clutch in free-spool and walk the line out by the hook strap, keeping a little tension on it so it does not kink or tangle. Leave at least 10 wraps of synthetic line on the drum, or 5 of steel.[1, 3]
The point where the line is fixed to the drum is not built to hold load. The wraps hold it. Slack line walked out loosely can twist and wind on badly later.
- 5
Connect
Pass a rated shackle through both eyes of the strap and the hook. Tighten the pin snug, then back it off slightly. Set the hook with its open throat facing up, the latch closed and the load in the throat, never on the tip.[1, 2, 5, 7]
A pin cranked all the way can seize under load. A hook loaded on its tip or latch, or set throat-down, can fail and send the rigging flying.
- 6
Damper on
Lay a line damper, a recovery blanket or weighted bag, over the middle of the line before you put any tension on it.[1, 2, 3]
If the line or a piece of hardware fails, the damper's weight pulls the line toward the ground instead of letting it whip back at the vehicle. Never walk up to a loaded line to move one; slack it first.
- 7
Clear the area
Before the line takes any load, move everyone back at least 1.5 times the length of line you have out. Nobody stands in front of or behind the vehicle, near the line, or near a snatch block, and nobody steps over the line.[1, 3, 4, 6, 7]
Anyone near a loaded line is in its path if something fails. Sources set the keep-out distance anywhere from the full length of the line to twice it; this drill uses 1.5 times, the Victorian government's figure.
- 8
Take up the slack
Engage the winch clutch, pass the remote cord in through the window, and spool in slowly just until the slack is gone. Stop, and check the anchor, the strap, the shackle and the hook before you load it. Watch the buried anchor as the line tightens. If the ground starts to heave or the strap creeps, stop and dig deeper.[1, 3]
A slack line that suddenly loads hits the whole rig with a shock. Checking at light tension catches a bad anchor before it carries the full pull.
- 9
Winch it out
Keep the engine running and the transmission in neutral. Winch in steady pulls, pausing to let the motor rest and to check the line is winding evenly onto the drum.[1, 3, 8]
A running engine keeps the battery up under the winch's draw, and short pulls with rests keep the motor from overheating. Jerky loads are the ones that break hardware.
- 10
Secure and spool in
Put the vehicle in park or a low gear before you release the line tension. Then spool in, walking the line with the hook strap so it winds on evenly, and stop with the hook about 3 feet from the fairlead.[3, 4]
The vehicle has to hold itself before the line goes slack. Powering the hook into the fairlead can damage both.
Avoid these
Common mistakes
A shallow or uncovered anchor
Bury it deep and pack the soil. A shallow anchor levers straight out.[3, 7]
Pulling up instead of along
Keep the pull as low and level as you can, with the strap leading out from the bottom.[7]
Watch & learn
Buried anchor on video
Picked from our video library. These are other creators' videos, so where one differs from the drill, the drill's sourced steps are the ones to follow.
Ground/Sand Anchor with Pat Callinan
Continental Tyres Australia
0Sand Winching, best sand anchors off-road
Ronny Dahl
0Vehicle Recovery Using the Deadman Off-Road Earth Anchor
TrailRecon
0
Keep practicing
Other winch techniques
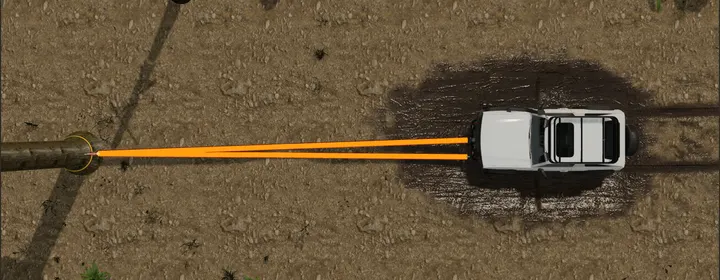
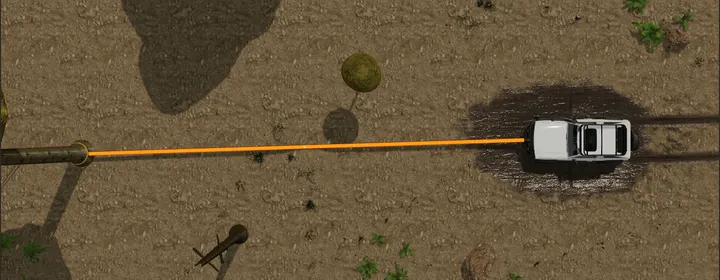 Start hereSingle-line pullThe basic self-recovery: one line from your winch straight out to a solid anchor in front of the vehicle.10 steps
 Technique 2Double-line pullThe line runs out to a snatch block on the anchor and back to the vehicle, roughly doubling the pull at half the line speed.11 steps
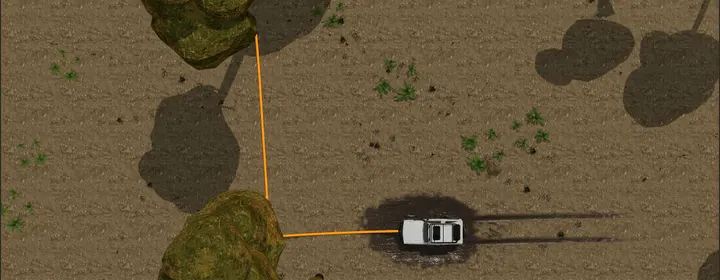 Technique 3Redirect pullWhen the only big anchor is off to the side, a snatch block on a second anchor in front turns the line so it feeds into the winch straight.11 steps
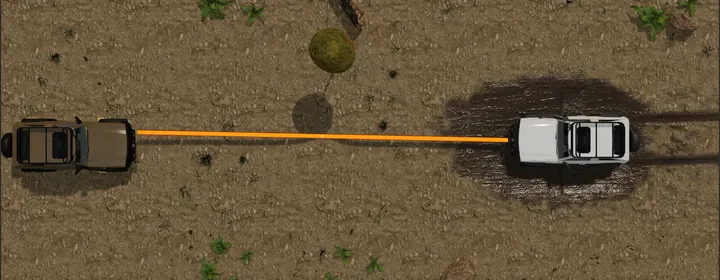 Technique 4Vehicle as anchorNo tree in reach, but a second vehicle on firm ground can be the anchor, as long as it is set so it cannot be dragged.10 steps
Learn it hands-on
Nothing replaces practicing with someone who has done it. Browse off-road tour operators and parks near you and ask whether they run recovery training.
Find off-road tours and parksSources
Where the checkable claims above come from. Rules and figures change, so confirm anything you are about to rely on against the source itself.
- Basic Guide to WinchingWARN Industries (warn.com)
- Basic Winch TechniquesWARN Industries (warn.com)
- The Basic Guide to Winching Techniques (62885A6)WARN Industries (quadratec.com)
- Electric Winch User's GuideSuperwinch (Westin Automotive) (westinautomotive.com)
- Recovery Basics: Part IARB USA (arbusa.com)
- SOI-034: 4WD Vehicle Winch (Safe Operating Instructions)Victoria State Government, Department of Environment, Land, Water and Planning (files-delwp.em.vic.gov.au)
- ATP 4-31: Recovery and Battle Damage Assessment and RepairUS Army (published by the North Carolina National Guard) (ng.nc.gov)
- Winch User Guide (9923644)Polaris (publications.polaris.com)