Your first OHV park ride is a milestone, but it doesn't happen by accident. A properly prepped dirt bike keeps you safe, saves you from breakdowns on the trail, and makes every ride more enjoyable. Whether you're on a 250cc trail bike or a 450cc four-stroke, the fundamentals are the same: check critical systems, verify your gear, and understand the park's rules before the gate opens. This guide walks you through the non-negotiable steps every rider should complete before hitting an OHV park for the first time.
Engine and Fuel System Check
Start with the engine because it's your lifeline on the trail. Check your oil level while the bike is cold and on level ground, use the sight glass if your bike has one, or pull the dipstick and wipe it clean. Most dirt bikes need a complete oil change every 10–20 hours of riding, so if you're past that, drain and refill now. Fresh oil improves cooling, reduces friction, and keeps metal particles from accumulating. Viscosity matters too: check the manual for the recommended weight and stick to it.
Next, the fuel system. Drain and replace any old fuel sitting in the tank, stale fuel gums up carburetors and injectors, particularly on bikes that sit between seasons. Fill with fresh gasoline mixed to the correct ratio if you're running a two-stroke. Turn the fuel valve on and let the bike idle for 30 seconds to purge old fuel from the lines, listening for anything abnormal from the carburetor. If it coughs, hesitates, or runs lean, the carb probably needs cleaning before you head to the park.
Tires, Suspension, and Brakes
Tires are your only contact with the trail. Check tread depth, knobs worn flat lose grip in soft dirt and sand. Examine sidewalls for cracks or bulges, which signal internal damage that can fail catastrophically at speed. Set pressure to the figure in your owner's manual, typically 12–15 PSI for off-road riding. (Don't use the number on the tire's sidewall: that's the maximum rated pressure, roughly double what knobbies want in dirt.) Ride a few figure-eights in a parking lot to confirm the tires feel planted.
Suspension tuning is an art, but for your first park visit, focus on basic function. Compress the front forks with your body weight and release, they should rebound smoothly without clunking. Check the rear shock the same way by sitting on the bike. If either feels mushy or sticks, the damping seals may be worn; have a mechanic service the suspension if it's been more than a year since the last rebuild.
Brakes are non-negotiable. The front lever should feel firm and stop the wheel cleanly, a lever that sinks halfway to the grip means air in the line and a bleed before you ride. Pads should be at least 2–3 mm thick (check through the caliper window). Inspect the rotor for deep scoring or warping. The rear brake should engage smoothly as you roll forward; grabbing or unevenness means the caliper needs cleaning or the pads are wearing unevenly.
Protective Gear and Safety Equipment
You are not going to the park without helmet and goggles. Period. A full-face off-road helmet keeps your face clear of roost and protects your jaw in a crash; goggles must be fog-proof or run a tear-off system, because visibility is survival.
Round out the kit:
- Jersey and pants made for dirt biking: they shed dirt, protect skin, and breathe better than street clothes
- Boots and gloves, real off-road boots, not work boots; ankle support prevents the most common trail injury
- Chest protector, the cheapest insurance against injuries that end riding for months
- Knee guards and wrist braces, lacerations and snapped wrists are the classic beginner crash outcomes
- Small first-aid kit in the truck: band-aids, antiseptic, and athletic tape solve most trailside issues
Choose gear for your climate: mesh and ventilation against heat exhaustion in humid regions, layers under the jersey in cool weather.
Pre-Ride Maintenance Checklist
Run this list before every ride, it should take about 10 minutes:
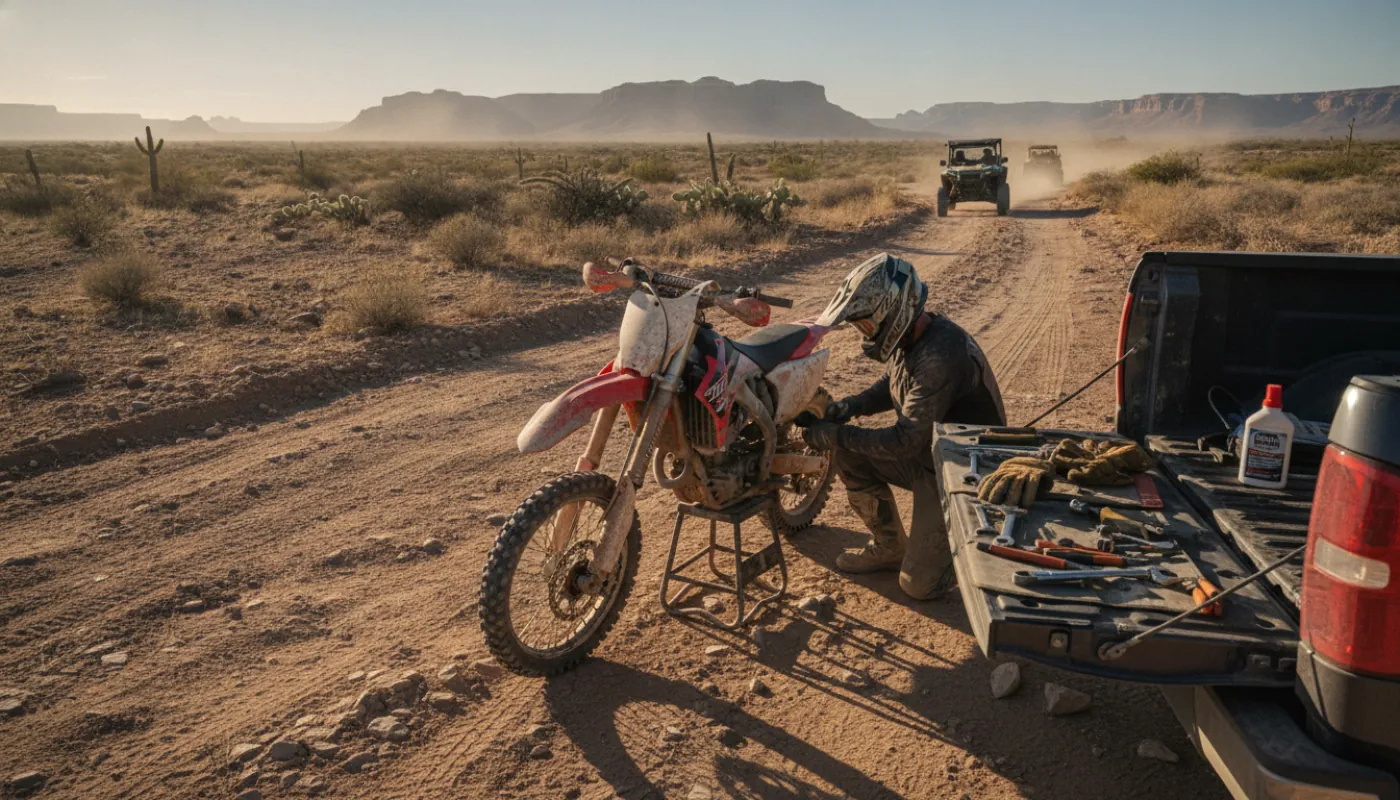
- Fasteners. Handlebar, footpeg, and frame-mounted bolts loosen from vibration. Snug them, don't strip them.
- Chain. Check slack at the midpoint between sprockets: most dirt bikes call for roughly 35–50 mm (about 1.4–2 inches) of play. See your manual for the exact spec. Dirt bikes need more slack than street bikes because the chain tightens as long-travel suspension compresses; set it street-tight and you'll wreck the countershaft bearing or snap the chain at full compression. Lube it while you're there.
- Air filter. A clogged filter cuts power and makes the engine run rich. Gray or brown means clean or replace.
- Spark plug. Pull it and read the electrode: a black oily, wet plug points to oil getting into the combustion chamber (worn rings or seals, or premix trouble on a two-stroke); a black dry, sooty plug means the carb is running rich. Either reading deserves attention before the park.
- Controls. Throttle snaps back, clutch engages cleanly, brakes respond immediately. Spin each wheel to confirm nothing rubs.
- Fuel and tools. Full tank, plus a basic kit: multi-tool, adjustable wrench, spark-plug socket, chain lube. Trail repairs are impossible without tools.
Understanding Park Rules and Boundaries
Before you ride, contact the park operator and learn their rules. Two requirements are near-universal at OHV parks and catch first-timers:
- Spark arrester. Most parks (and all national-forest riding) require a USFS-approved spark arrester on the exhaust. Many stock off-road exhausts have one; aftermarket motocross silencers often don't.
- Sound limit. A 96 dB limit (tested at the exhaust under the SAE J1287 procedure) is the common standard, and busy parks do test. A loud race pipe can get you turned away at the gate.
Beyond those, expect permit or day-use fees, trail- or time-of-day restrictions, quiet hours near residential areas, and occasional engine-size or bike-type limits. Spending 15 minutes on the phone with the operator saves you from being turned away or fined.
Maps and boundary markers matter too. Download the official park map before you go and study it at home. On the ground, watch for marker colors, trail blazes, orange ribbons, white paint, or cairns, and stay within them. Riding off-trail damages vegetation, creates erosion channels, and gets access revoked for everyone. If you're unsure which direction to go, backtrack and find clear marking, other riders depend on you to respect boundaries so the park stays open.