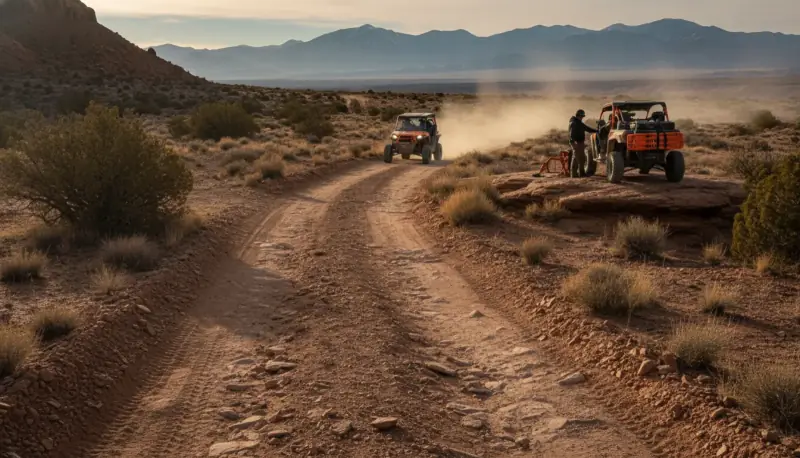
Your Jeep JL gets stuck. The trail is silent except for the spinning of tires on loose rock. You don't have a winch. You don't have recovery gear. You're waiting for a friend with a truck who may be two hours away.
A solid recovery kit transforms that scenario. The difference between a rescued morning and a tow bill that costs what a decent JL accessory package runs isn't complicated, it's about owning the right gear and knowing how to deploy it. The mistake most new Jeep owners make is assuming recovery costs what it could cost if you bought everything retail and name-branded. It doesn't.
This guide builds a functional recovery setup for a JL from under $2,000. That price assumes you're patient, willing to source used gear where safe, and smart about priorities. You won't have every backup option a fully stocked recovery vehicle carries. You'll have the core tools that handle 95% of the situations that actually trap Jeep owners on established trails and park roads.
Understanding Your Recovery Priorities
Not all recovery is winching. Most stuck moments are relatively shallow holes: sand traps, rut crossings, minor high-center situations that respond to digging, deflating, momentum, or a kinetic-rope tug from a friend's rig before you ever need a powered winch.
The traditional hierarchy works: soft recovery first (kinetic energy, momentum, hand-power), then mechanical advantage (leverage via a hi-lift jack), then electrical power (a winch, optionally multiplied with a snatch block). Expensive gear lives at the bottom of that pyramid, and your budget should weight toward the top of it:
| Priority | Item | Typical cost | What it solves |
|---|---|---|---|
| 1 | Kinetic recovery rope (7/8" × 30') | $100–$180 used | 90% of stuck situations, with a helper rig |
| 1 | Shackles, 4× bow (4.75-ton) + 2 soft | $80–$130 | Every connection point |
| 2 | Hi-lift jack | $90–$130 new | Lifting corners, shifting axles, lateral leverage |
| 2 | Shovels, pry bar, tire kit, compressor | $260–$450 | Digging, airing down/up, plugging |
| 3 | 9,500-lb winch | $400–$700 used | Solo recovery when nobody's coming |
| 3 | Winch-rated bumper + wiring + snatch blocks | $600–$1,400 | The structure the winch needs to work |
A $1,200 winch is overkill if you don't yet know how to use a kinetic rope or a hi-lift jack effectively.
Core Winch and Electrical System
If you're building this kit, you probably want a winch. They're standard on most Jeeps rolling organized trails. A good 9,500-pound electric winch on the used market costs $400–$700; new runs $800–$1,400. The used route is worth the due-diligence: check the motor for burn smell, test the solenoids for crispness, verify the cable hasn't kinked.
The electrical side matters as much as the winch motor:
- Battery. A basic dual-battery setup, factory alternator plus one auxiliary AGM battery on a quality isolator relay ($150–$250), powers sustained winching without killing your starting battery. If you go lithium for the auxiliary instead, budget for a DC-DC charger rather than a simple isolator; lithium needs the managed charge profile, and a bare relay abuses both the battery and your alternator.
- Wiring. A 9,500-lb winch pulls several hundred amps under full load, which is why manufacturers ship them with 2-gauge (2 AWG) power cable, and long custom runs go heavier still, toward 1/0. Buy proper welding-style winch cable with crimped and sealed lugs. Undersized wire is the classic budget mistake: it drops voltage, cooks its insulation mid-pull, and turns a recovery into an electrical fire risk.
- Mounting. Put the winch on a winch-rated bumper ($400–$600 used, $700–$1,200 new). Don't run it on a bracket welded to the stock bumper unless you've actually stress-tested the geometry. The bumper is the structural interface between 9,500 pounds of pull force and everything forward of the firewall.
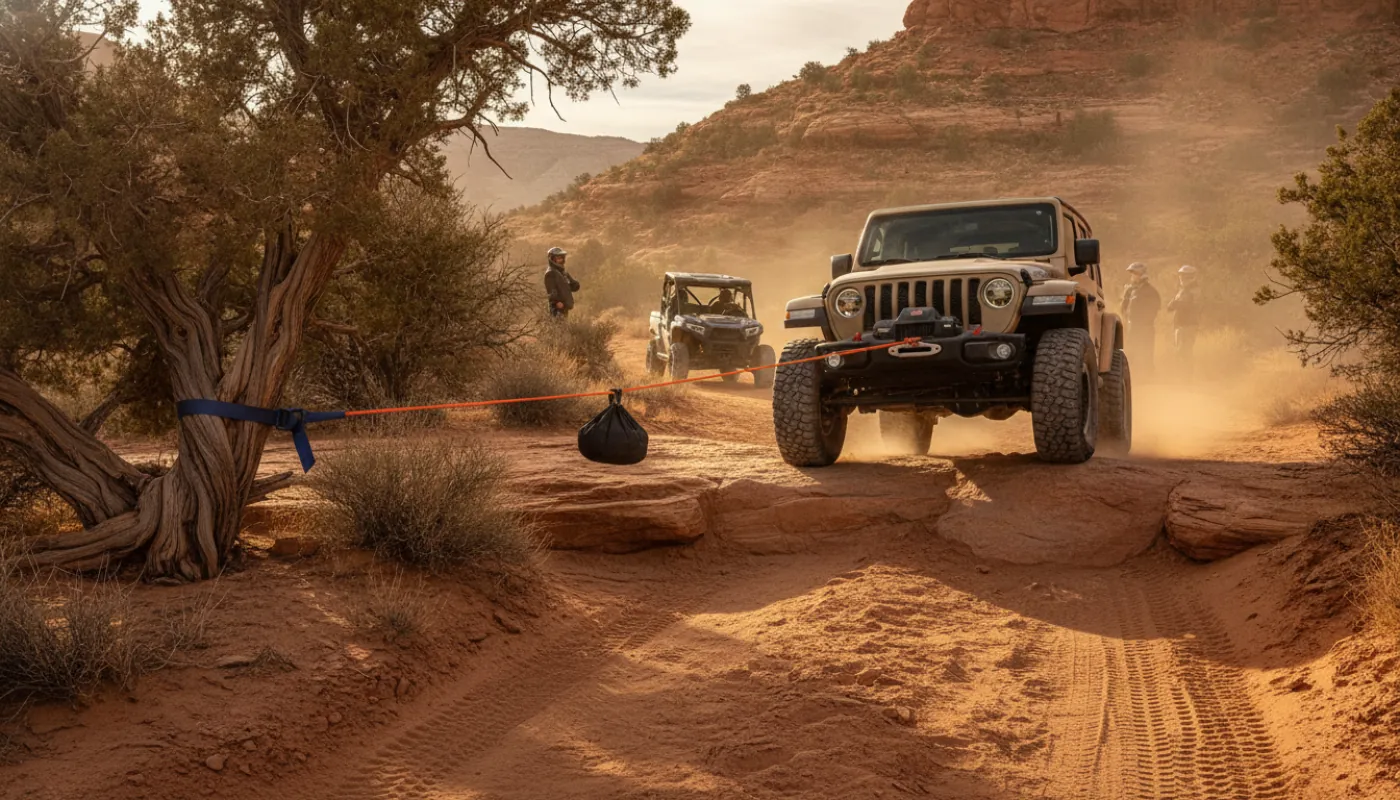
Round out the winch side with one or two heavy-duty snatch blocks ($30–$50 each). A snatch block is a pulley for your winch line, and it does two jobs. As a redirect, shackled to a tree or off-axis anchor, it lets you pull straight when the anchor isn't dead ahead, the winch still sees the full load. For true 2:1 mechanical advantage, the line has to return on itself: run the winch line out to a block shackled at the anchor (or on the stuck vehicle in a two-rig pull) and bring the hook back to your own recovery point, so two lengths of line share the load and the winch sees roughly half. Snatch blocks are a winch-line tool only, never put a kinetic rope through one.
Soft Recovery: Ropes, Straps, and Kinetic Energy
Your second-line tool is a kinetic recovery rope. This is the non-negotiable centerpiece of a budget kit. A 7/8-inch, 30-foot kinetic rope (the class of rope that carries roughly a 28,000-pound breaking strength, far beyond what a pair of Jeeps can generate), costs $100–$180 used.
A kinetic rope works by storing energy in the braid as a helper vehicle accelerates away from your stuck point. Unlike a static tow strap, it doesn't jerk, it stretches and rebounds, providing a sustained pull that gets wheels rolling without shock-loading your frame. One helper vehicle with a kinetic rope handles most recoveries that don't involve deep mud or complete high-centering.
Keep two synthetic tow straps ($40–$80 each, rated 20,000-pound minimum) for secondary recovery or daisy-chaining vehicles. These have some give but far less than kinetic rope, utility players for trailer pulls and low-speed repositioning.
A critical safety note on straps and hooks: never use a tow strap fitted with metal hooks for any recovery. Hook-ended straps are road-towing equipment: if a hook or its anchor fails under load, that steel becomes a projectile, and people have been killed exactly this way. Use loop-ended recovery straps and kinetic ropes connected with soft shackles or rated steel bow shackles, and drape a damper (or a heavy jacket) over any loaded line.
Shackles bridge everything. Buy four forged bow (D-ring) shackles rated 4.75-ton minimum ($15–$25 each) and a couple of soft shackles. Cheap unrated shackles fail under load and end the recovery attempt immediately; pay the small premium for proven hardware.
Essential Hand Tools and Leverage Equipment
A hi-lift jack ($90–$130 new; used ones turn up cheaper, but inspect the climbing mechanism before trusting one) is your mechanical-advantage tool. It lifts corners for tire repairs, shifts axles off rocks, and creates leverage for lateral pulls when repositioned against a frame crossmember. New JL owners rarely master it because the learning curve is steep, but one afternoon of practice turns it into a reliable single-person recovery option.
The rest of the hand-tool core:
- Digging: a full-size shovel, a folding spade, and a flat pry bar ($80–$120 total). Most stuck moments involve clearing ruts, digging out a high-center, or building an approach ramp, a $20 shovel outworks any electrical tool in that category.
- Air: a heavy-duty 12V compressor ($150–$300) and a tire plug kit ($30). Airing down frees wheels; airing back up afterward requires compressor power.
- Electrical spares: jumper cables, a multimeter, spare fuses for your primary circuits, and an assortment of bolts matching your recovery hardware, all in a waterproof box ($30–$50).
Assembly, Testing, and Safe Deployment
Your completed kit needs organization. Don't throw everything in the rear and hope you remember what's where when you're stuck: soft recovery (rope, straps, shackles) in one dry bag, hand tools in a sectioned box, electrical spares in a separate marine box, hi-lift mounted securely to the bumper or cargo plate.
Then prove the system before a trail demands it:
- Static winch test. Rig to a sturdy anchor on flat ground, shackles loaded on the bow (never sideways), and make a gentle pull at low throttle. Listen for unusual motor sounds, watch the line spool flat, confirm the snatch block doesn't shift under load.
- Kinetic rope test. Have a helper vehicle make a controlled, low-speed pull. The rope should load smoothly, jerkiness signals internal braid damage or a bad connection.
- Hi-lift practice. Fifteen minutes on level pavement, learning body position and pinch points, turns an intimidating tool into one you'll actually use.
- Document the setup. Photograph the winch wiring route, the anchor points on your frame, and where every shackle lives. If someone else ever has to deploy your kit, photos cut the learning curve in half.
Your assembled kit handles soft recovery, mechanical leverage, electrical winching, and basic problem-solving with hand tools. That combination, not any single expensive component, is what gets you unstuck on a Saturday morning rather than Monday's tow bill.